Find out why OpenLiteSpeed is better than the other webserver and you may wish to replace Apache with OpenLiteSpeed. The commercial LiteSpeed can replace Apache easily unfortunately there is no direct drop-in with OpenLiteSpeed. Before you proceed with the replacement, take note that OpenLiteSpeed does not read Apache’s configuration files. Additionally, it does not completely support .htaccess files. You will have to do most configurations through its web interface. Let us replace Apache with OpenLiteSpeed through this article.
Summary
- You already have a Scalable VPS server on AlmaLinux with LAMP stack
- Install OpenLiteSpeed
- Remove Apache HTTP Server
Install OpenLiteSpeed
- Before anything else, let us add OpenLiteSpeed repository into AlmaLinux 8 using the following command:
sudo rpm -Uvh http://rpms.litespeedtech.com/centos/litespeed-repo-1.1-1.el8.noarch.rpm
- Execute the following command to update the package list:
dnf update
- Let us now begin by installing OpenLiteSpeed & PHP using the following command. Do not remove Apache until you have thoroughly tested OpenLiteSpeed.
dnf install openlitespeed lsphp74
- You may now wish to enable Port 8088 and 7080 on your firewall. Execute these command if you are using firewalld, the default Firewall on AlmaLinux:
sudo firewall-cmd --add-port={8088/tcp,7080/tcp} --permanent sudo firewall-cmd --reload - Next, you can check the status of OpenLiteSpeed using the following command:
sudo systemctl status lsws
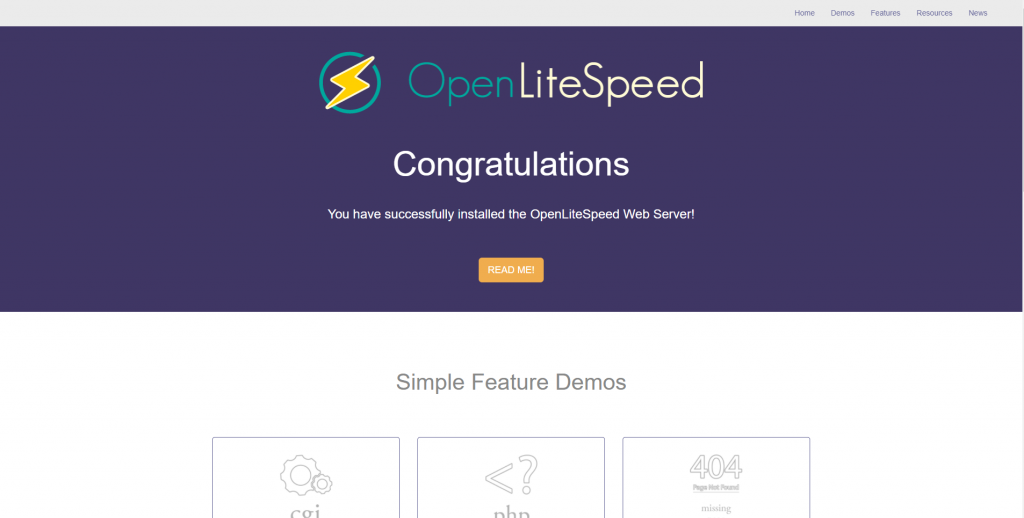
- By default, OpenLiteSpeed runs on port “8088” so you can access to your website on https://expertvm-cloud-ip-address:8088/. A congratulations page as follow should greet you.
- Let us now reset the web interface username & password using the following command:
/usr/local/lsws/admin/misc/admpass.sh
- The default port for the WebAdmin console is 7080. Hence, you can proceed to https://expertvm-cloud-ip-address:7080/, into your browser to go to the WebAdmin interface.
- The next important thing to do now is to setup virtual hosts based on the existing websites hosted within your VPS cloud server. By default only mod_rewrite rules are supported. Therefore, you will have to copy your .htaccess rules into the vhosts and set up other parts of the vhosts that are specific to them.
- Next, you should configure the Script Handler to use the right PHP version to handle your existing website.
- With these steps completed, you may now explore and troubleshoot your websites using OpenLiteSpeed through port 8088.
Removing Apache HTTP Server
- Whenever you are satisfied with OpenLiteSpeed on your VPS server, you may follow through these steps to remove Apache HTTP server. First, query and list all the Apache rpm packages using the following command:
rpm -qa "httpd"
- Next, list the installed Apache packages using this command
dnf list installed "httpd*"
- You may now remove the installed httpd packages using this command:
yum remove "httpd*" -y
- You may then remove the Apache Configuration Files, Supporting Files and httpd modules using these commands:
rm -rf /etc/httpd

rm -rf /usr/lib64/httpd
- Delete the Apache user by using this command:
userdel -r apache
- Let us check the status of Apache server to make sure it has been removed:
systemctl status httpd
- Finally, head back to OpenLiteSpeed web interface, navigate to Listeners > Click View button for the Default Listener -> Select Edit -> change the Port value from 8088 to 80 and click Save button -> Click Graceful Restart.
- Your VPS Cloud server should be running OpenLiteSpeed webserver now
Summary
This article shows you how you can replace Apache with OpenLiteSpeed on your VPS cloud server. Do not forget to check out NVMe VPS Cloud Server for the best speed and performance of hosting WordPress with OpenLiteSpeed.


